Building Discovery 55 Freja – Part 2
 Spring and Summer, 2014
By September of 2014, Freja was well under way and each part of the boat (cabins, saloon, galley) was now recognisable. We had visited the yard twice during the summer to keep up with the build and discuss the decisions we had to make by the end of September.
One of the issues we discussed throughout the spring and summer was how we could make the boat lighter. Not that we were going to race. We were just trying to compensate the extra weight in the shoal keel.
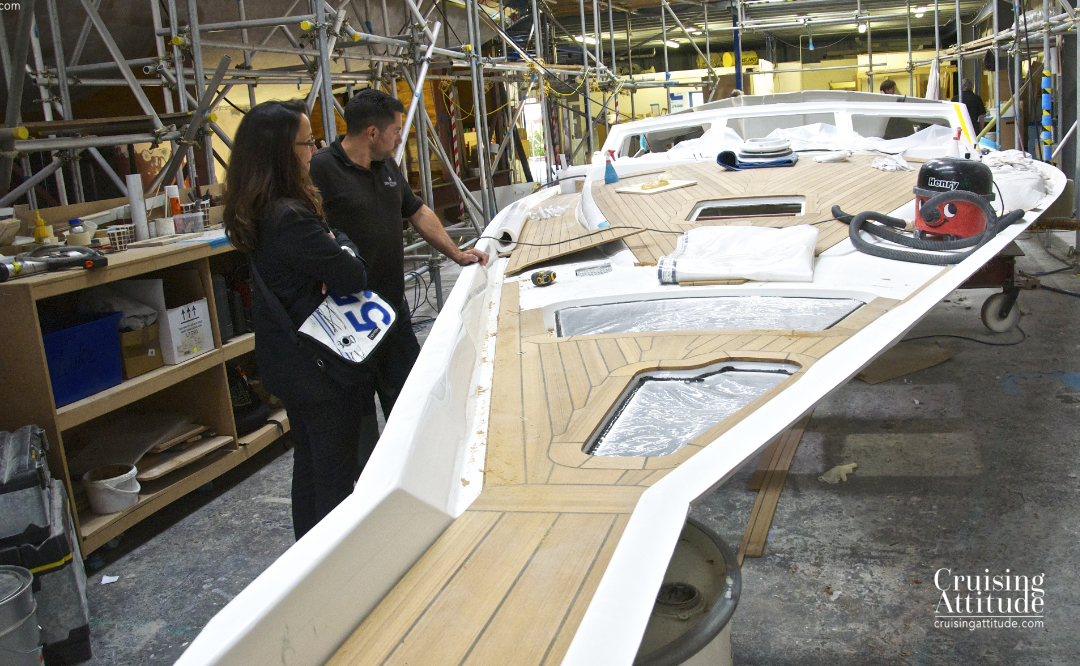
John Eustace shows us the progress on the deck build.
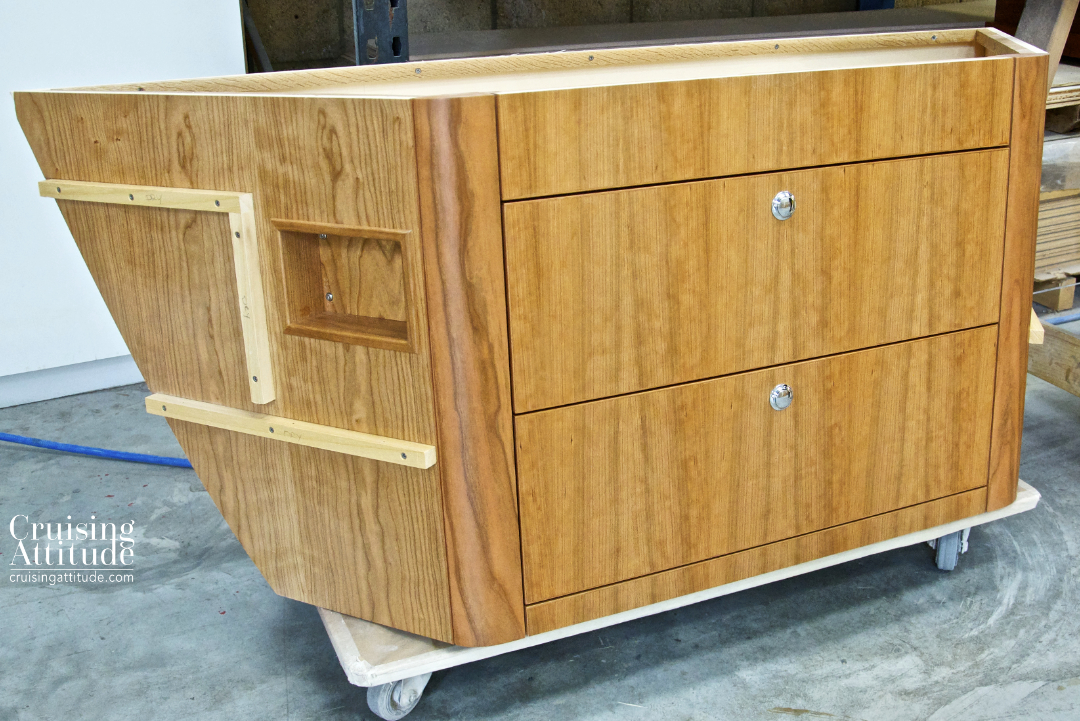
The chest of drawers for the foot of the bed after varnishing.
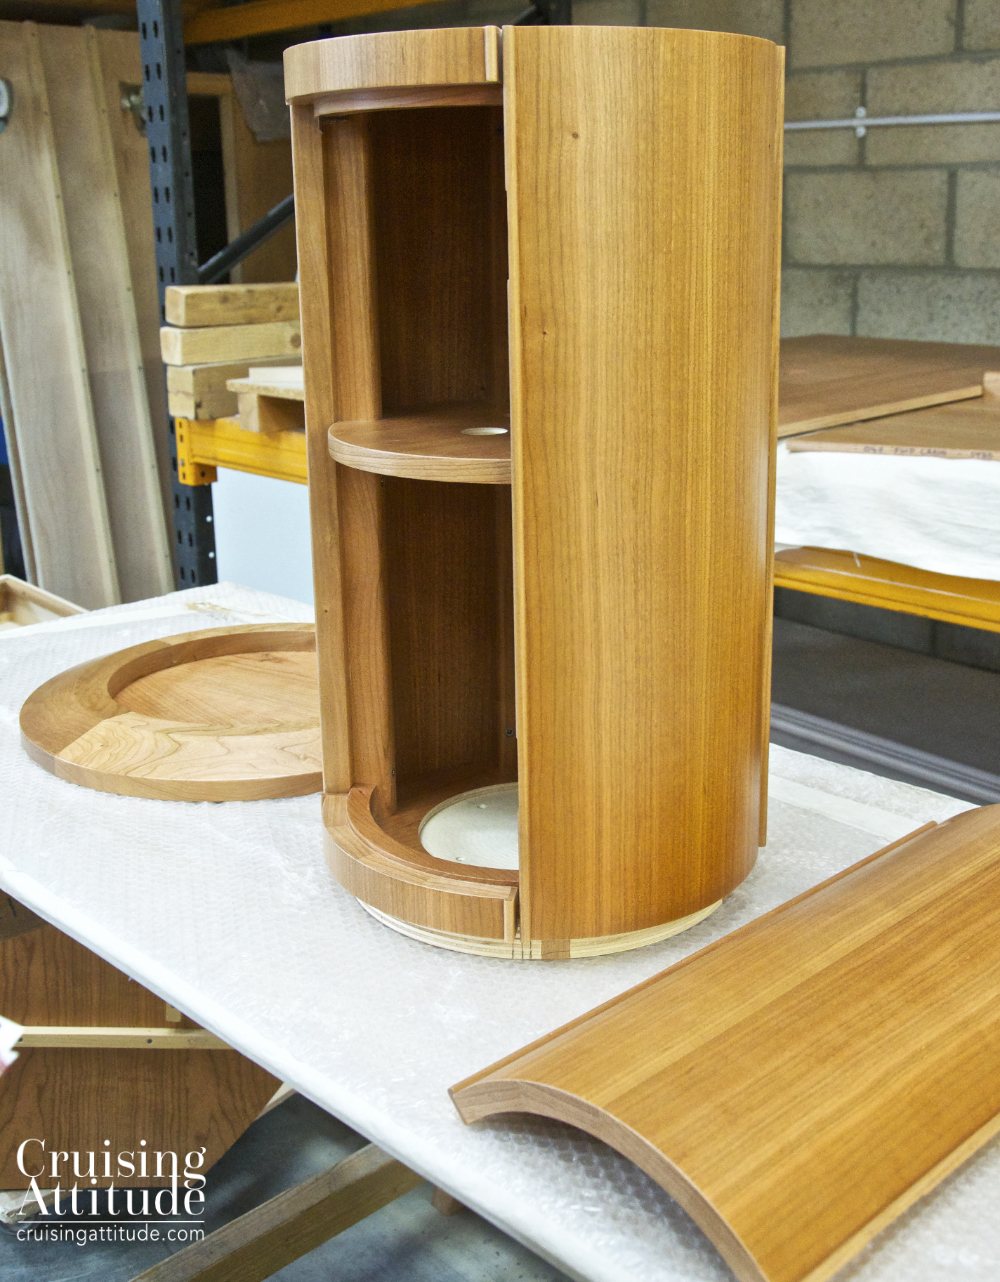
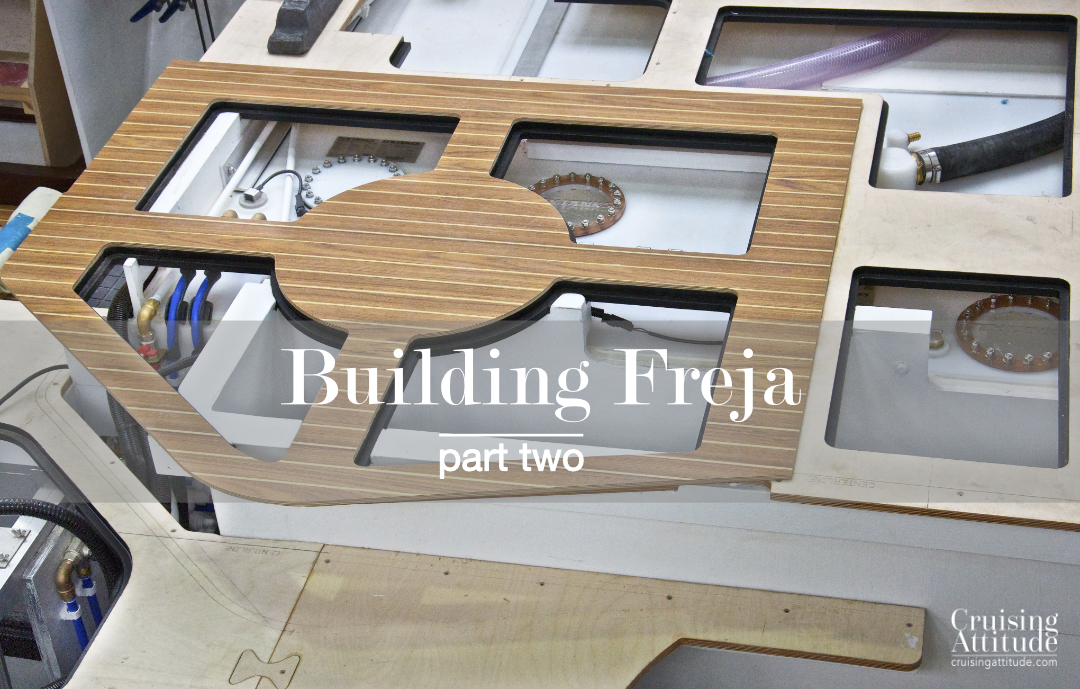
The base of the saloon table after varnishing. We love the exquisite quality of the cabinetry.
One of the on-going discussions was about the rigging, obviously a heavy component on the boat. Carbon or aluminium mast? Halyards made of Dyneema or carbon? Dyneema for lifelines? We were in discussions the entire Spring and early summer with Peter Kohlhoff, who works with Future Fibres, a supplier of carbon fibre products for racing sailboats. Peter was en enormous help in educating us on the properties and merits of these materials.
To make a long story short, we did not go with a carbon mast and halyards. This was partly because of the high costs (mast), partly because we would have been the guinea pigs as the first Discovery to go with carbon fibre halyards. We had a sense that Discovery didn’t feel 100% comfortable with it.
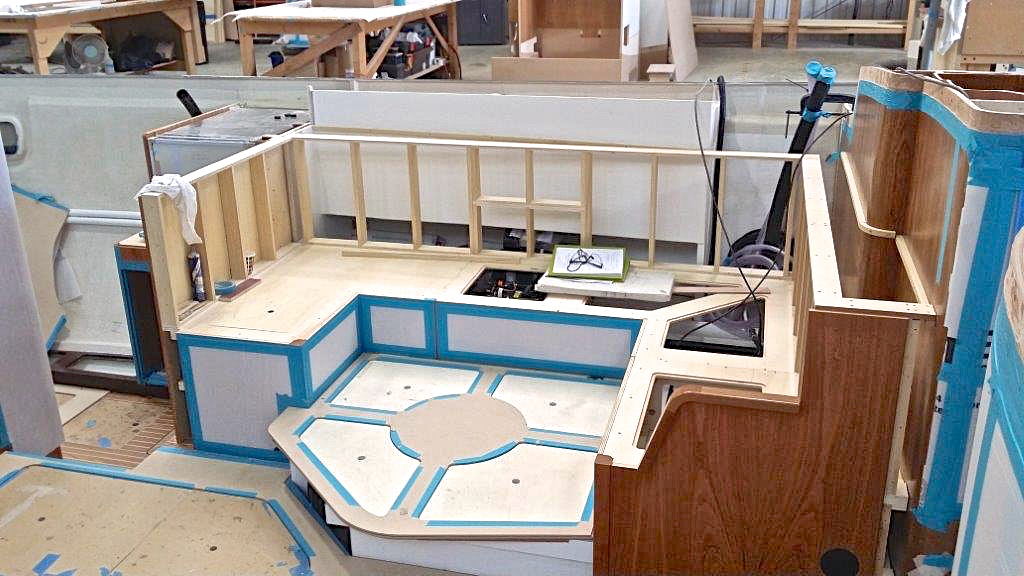
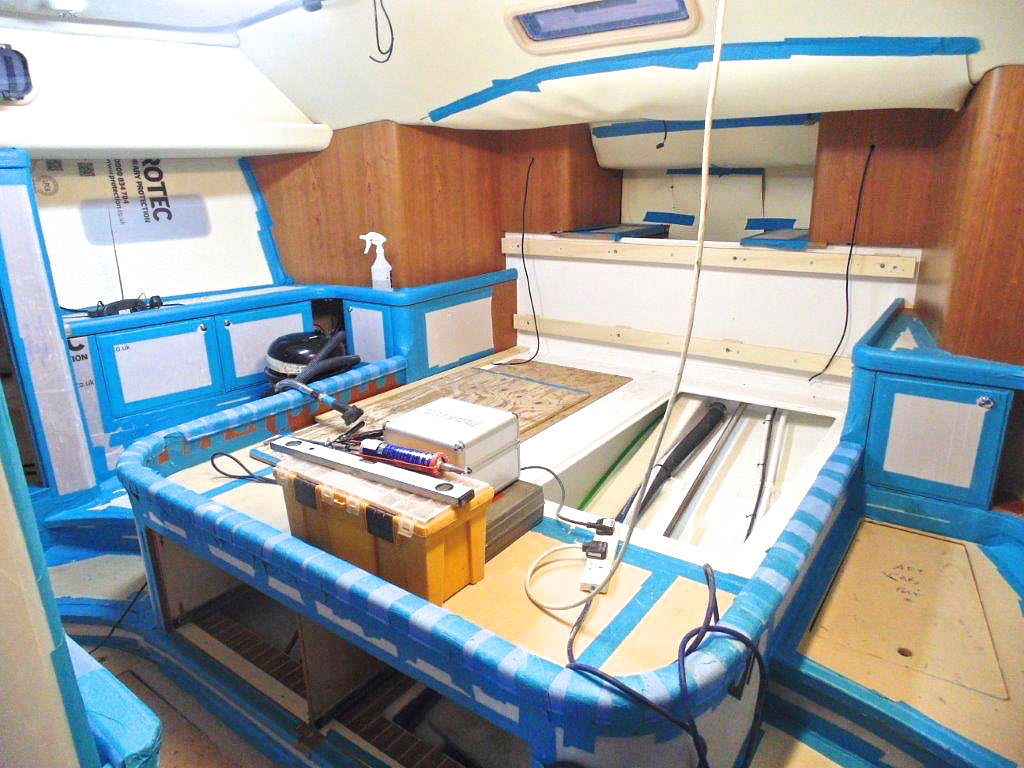
The saloon slowly taking form
We did go with a carbon fibre boom, which was much less expensive than we imagined, as it’s a relatively simple piece of engineering. I don’t remember how much weight weight we saved, but suffice it to say that I can carry the boom alone on my shoulder (I’m a 163 cm (5’3”) petite woman). It takes 3 strong people to pick up and carry the aluminium version.
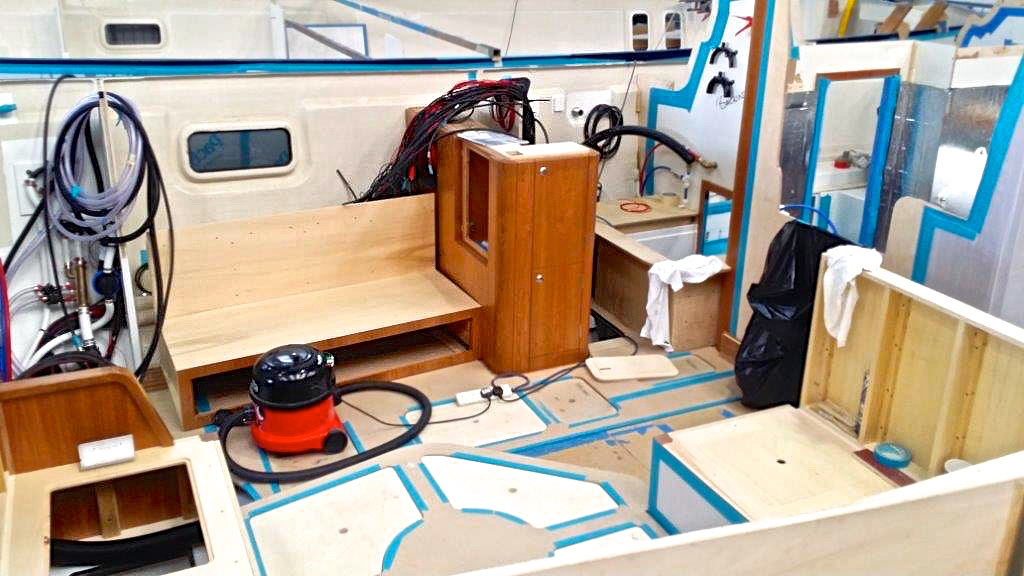
The nav station and sofa area taking form.
We racked up an enormous weight savings by choosing Dyneema instead of steel wire for all of our lifelines. It’s a huge savings because we wanted four lifelines strung instead of the normal two. Why? Because of our dogs. We didn’t want to use netting, which in neither easy to install, nor remove, nor very elegant. And it turns that awful shade of rusty yellow after a few weeks of exposure to salt water.
John Eustace, Discovery’s owner care manger, came up with the surprisingly simple idea of stringing four lines made of Dyneema. The space between the lines would be so narrow that our dogs (medium and large-sized) couldn’t slip through.
Discovery ordered our stanchions to be made with four thimbled holes. Each thimble had to be as smooth as laquer to prevent chafing on the Dyneema lines. Each line would be much stronger than its steel wire size equivalent, but would be prone to chafing damage if the edges of the stanchion holes were sharp. We ordered Dyneema for the two spinnaker halyards and the topping lift as well.
Finally, we ordered a carbon fibre wheel, which saved us about 10 kgs. The important thing about the lighter (less than 1 kg) wheel is that it’s much easier on the autopilot.
All in all, we saved around 130 kg on deck. It may not seem like much, but it’s equivalent to two people, after all.
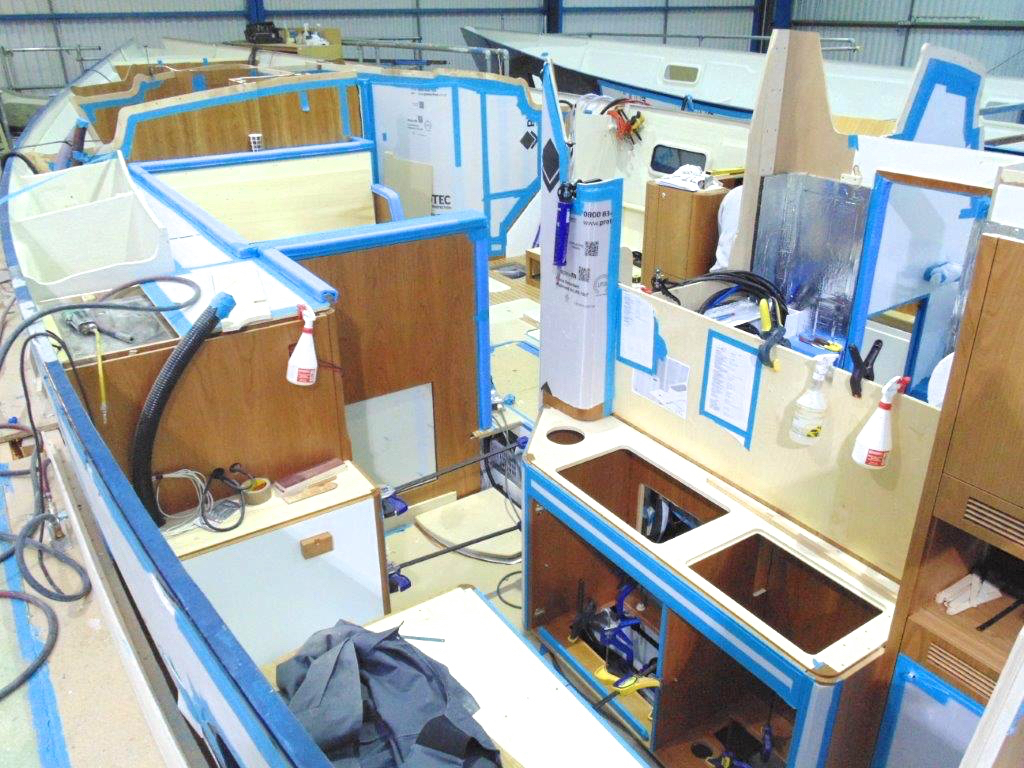
The beginnings of a galley
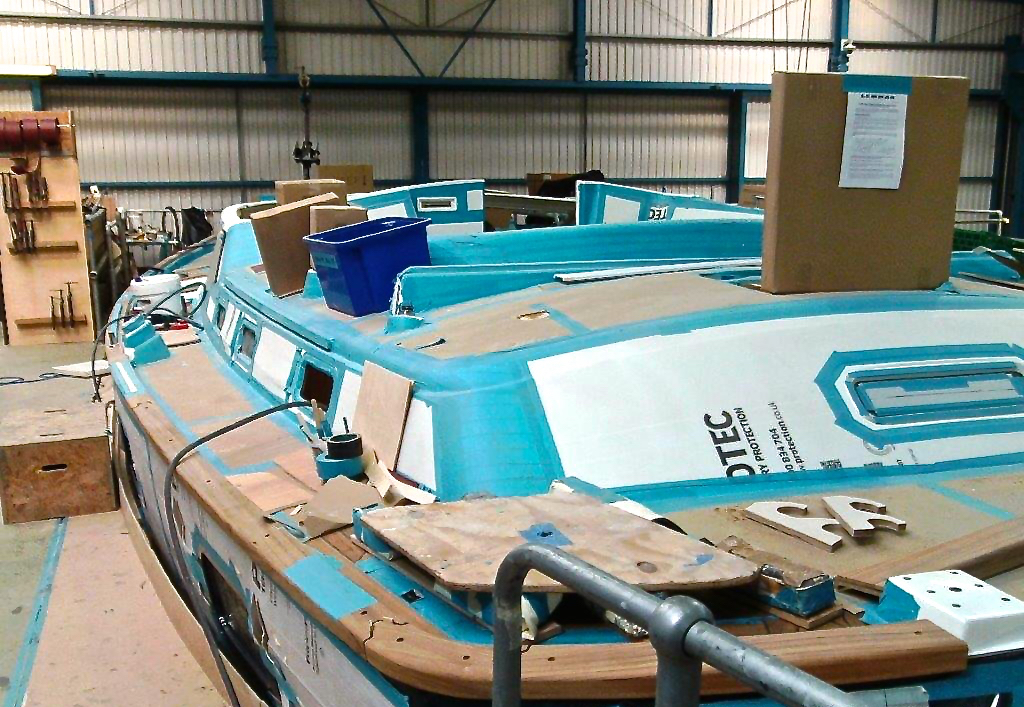
The deck has now been epoxied to the hull.
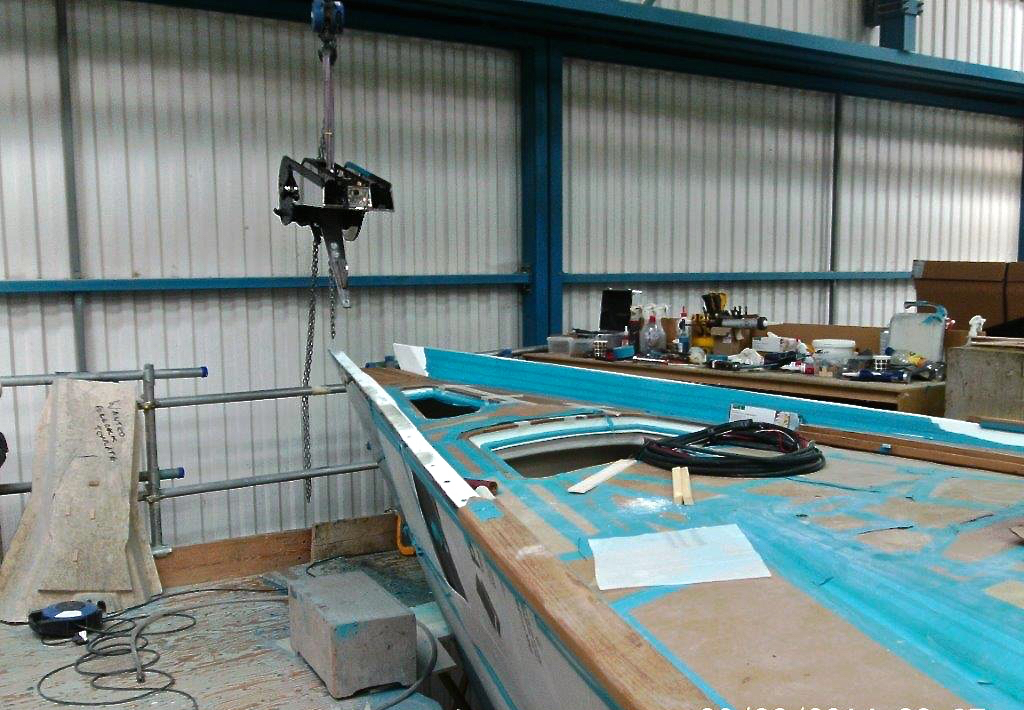
Stemhead being installed
We ordered LED lighting in and on the boat. We thought this was a given these days because of the energy savings, but there are still people who prefer halogen. We did not order underwater lighting, nor up-mast lighting, which are both relatively cosmetic. We did order LED strips to be installed along the edge of the cabin top to give us lighting on the side decks if we need it. It also serves as a way to find our boat if we’re in a crowded anchorage. We ordered a 24V aft deck floodlight mounted on the antenna pole, LEDs mounted into the bottom edge of the boom (to provide light for the cockpit) and a floodlight on the mast to illuminate the foredeck.
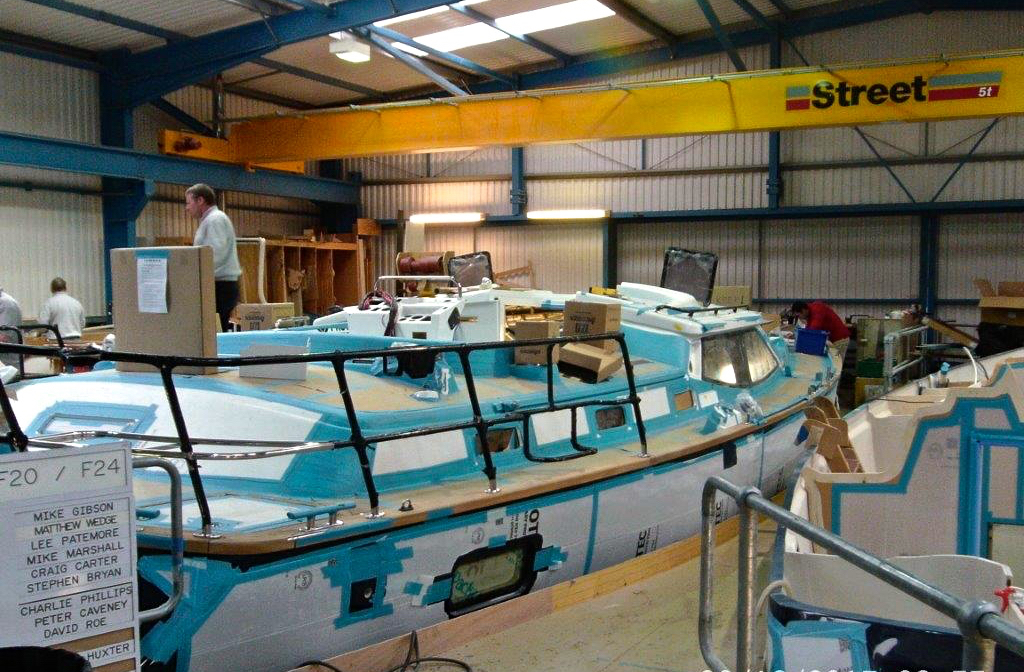
The stern rail has now been fitted in. Notice the life raft holder.
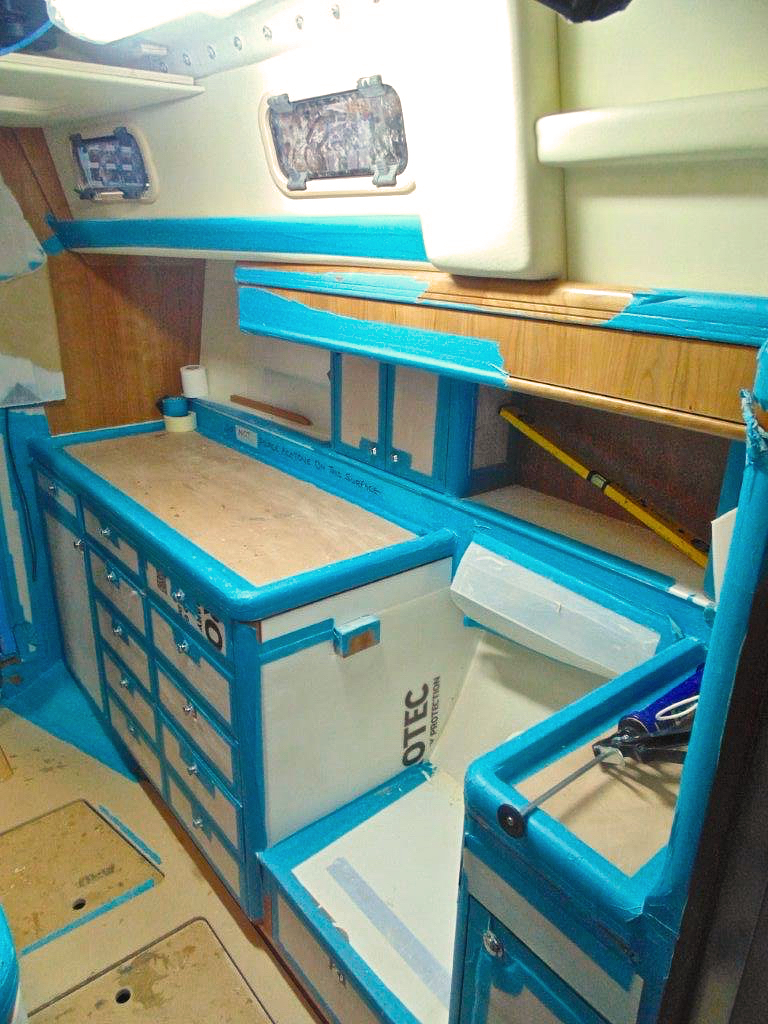
The drawers and cabinets in the galley have now been installed

The forward cabin, almost finished
Inside the boat, we followed the advice of our friend Leon (see this video series in which he discusses creating space with lighting) and had Discovery install LED mini-strips underneath stairs, closets, lower cupboards, and along the edges of the ceiling. It makes the boat feel cosier and even feels bigger at night, as the light reaches normally dark corners.
An important piece of equipment you need when installing an LED lighting system is the voltage regulator. LEDs do not like voltage spikes and when subjected to them constantly, they will die an early death. So, if you want your LEDs to have the 20-year lifetime promised on the box, install a voltage regulator.
The owners’ cabin (aft) taking form
Our voltage regulator comes from the Swedish company Båtsystem. Here is their argument for installing a voltage regulator: “LED lights are sensitive to voltage spikes and should not be exposed to voltage over 12.5V. While charging the batteries, however; the voltage is considerably higher and spikes are also experienced when using heavy loads such as when using a windlass. Therefore, it is important to protect your LED lights. This is either done by making sure that the LED lights have built in stabilisers (typically 8-30V) or, even better, to install a DC-DC stabiliser, which continuously ensures a voltage of no more that 12.5V. This is especially important on 24V boats and when installing LED tapes, which do not have built in stabilisers.”
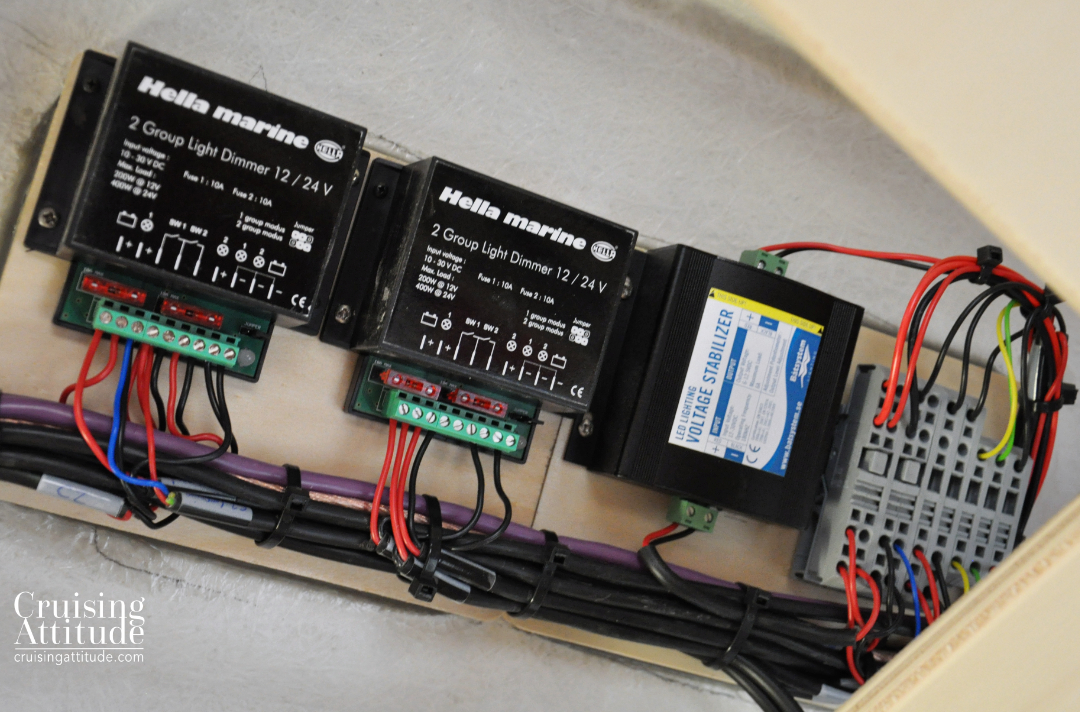
The voltage regulator for the LED lighting has been installed over the nav station
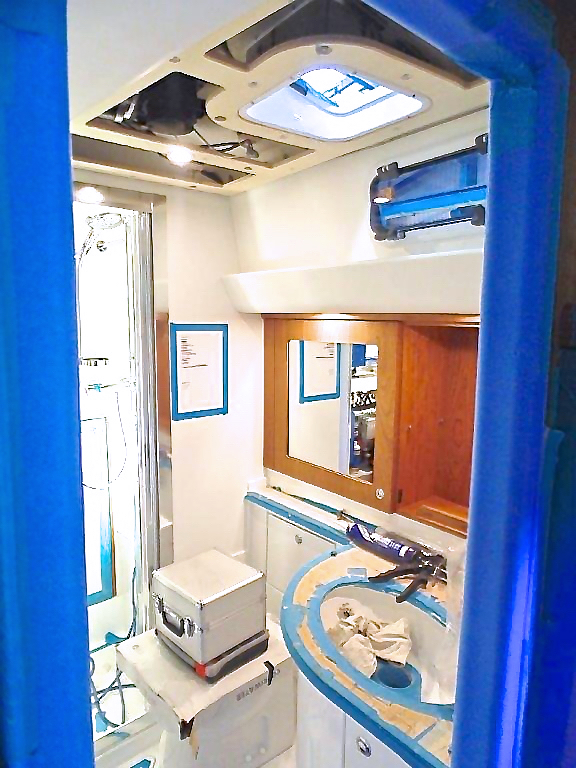
The heads adjacent to the owners’ cabin
Another important decision was our life raft “situation”. Since Discovery custom makes the life raft holders on the stainless steel stern rail just aft of the cockpit, we needed to decide on what brand we wanted and how many. Since we had two dogs at the time, we thought it best to order two 4-man life rafts than one 8-man. Our thinking was that if we really needed to bail, other crew members, would not want to share a life raft with 2 large dogs! In addition, if we were alone, with no other crew members on the boat, righting an 8-man life raft would probably be close to impossible.
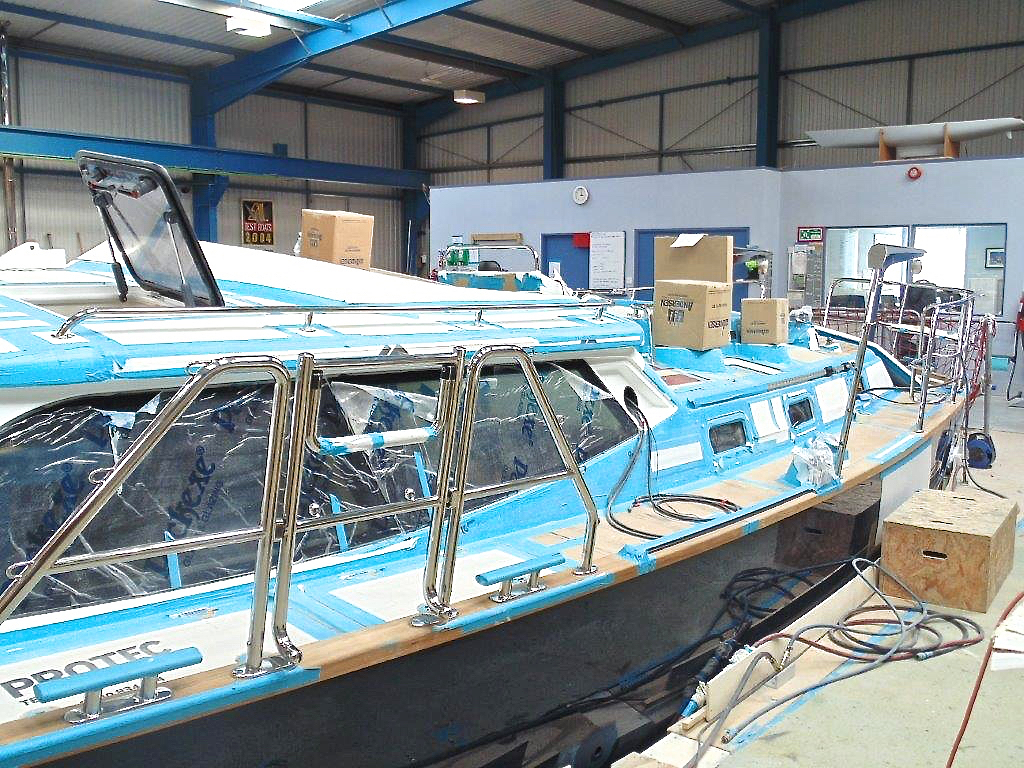
The boarding ladders on each side of the boat, the davits and the winches are now fitted.
We chose the Viking RescYou Pro life rafts after reading and seeing (video) a test on Yachting Monthly. We liked that the life raft used “emergency yellow”, that florescent greenish yellow colour that is used on the hoods of all brands of foul-weather gear. We also appreciated that the Pro model is blue on the inside, which is said to prevent seasickness. It has vinyl transparent windows on each end, which help you keep the horizon visible (seasickness prevention).
The two “doors”, one on each side, have double zippers that come up from the bottom, so you can increase your freeboard in case of heavy seas, without having to close up the raft. You can have a relatively high freeboard and preserve the ventilation in the boat. The is also important to prevent seasickness. Finally, the shape of the two entries cuts into the roof, so that if you need to be rescued by helicopter, you won’t need to jump into the water to receive the rescuer.
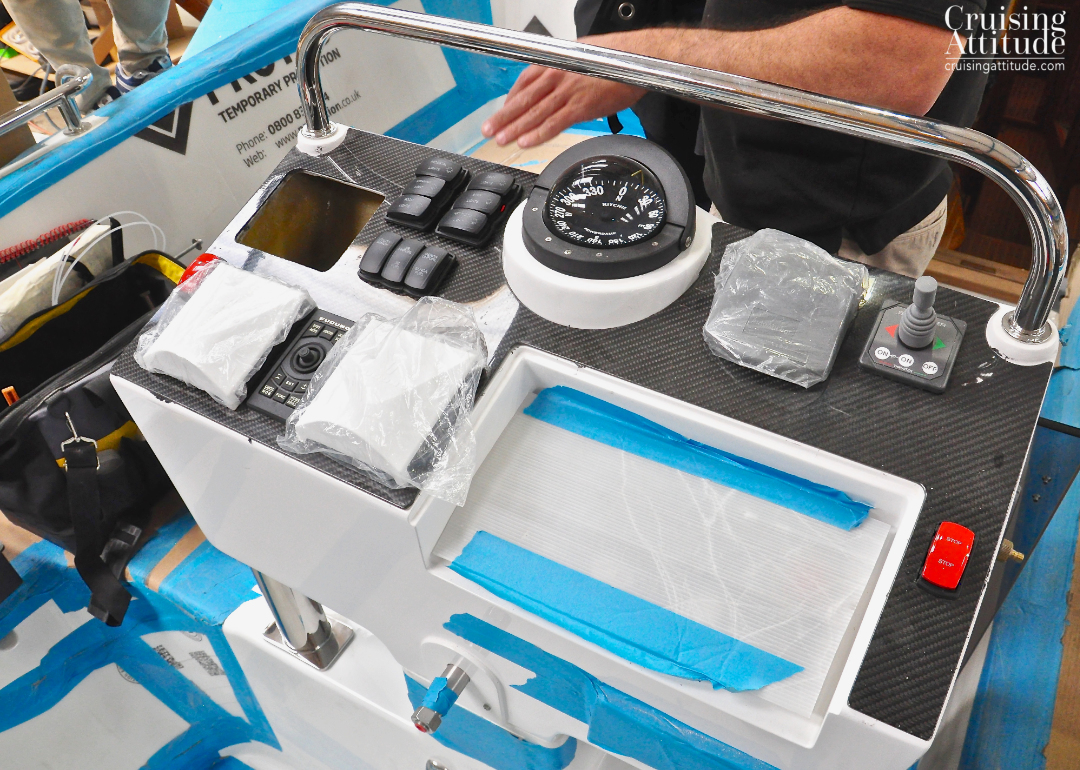
The steering pedestal has now been fitted. Here you see the twin autopilot controls side by side (white covers). The small black joystick in-between is the remote for the Furuno Chartplotter which will be mounted on the cabin top, next to the companionway.
Concerning life rafts, you should look at the video from Yachting Monthly that tested what life is like in a life raft. After watching this, you will definitely keep in mind that you should always be stepping up into a life raft, not down!